Example Asbestos Removal Projects in Auburn, Washington

Each example follows an asbestos job from the first test to the finished work: the building, what was tested, what the work involves, how long it takes and roughly what it would cost. About a third of Auburn homes were built before 1980, while asbestos was still used in ceilings, floors, insulation and siding, so every example starts with a test.

Asbestos survey and removal before a kitchen remodel

Example project
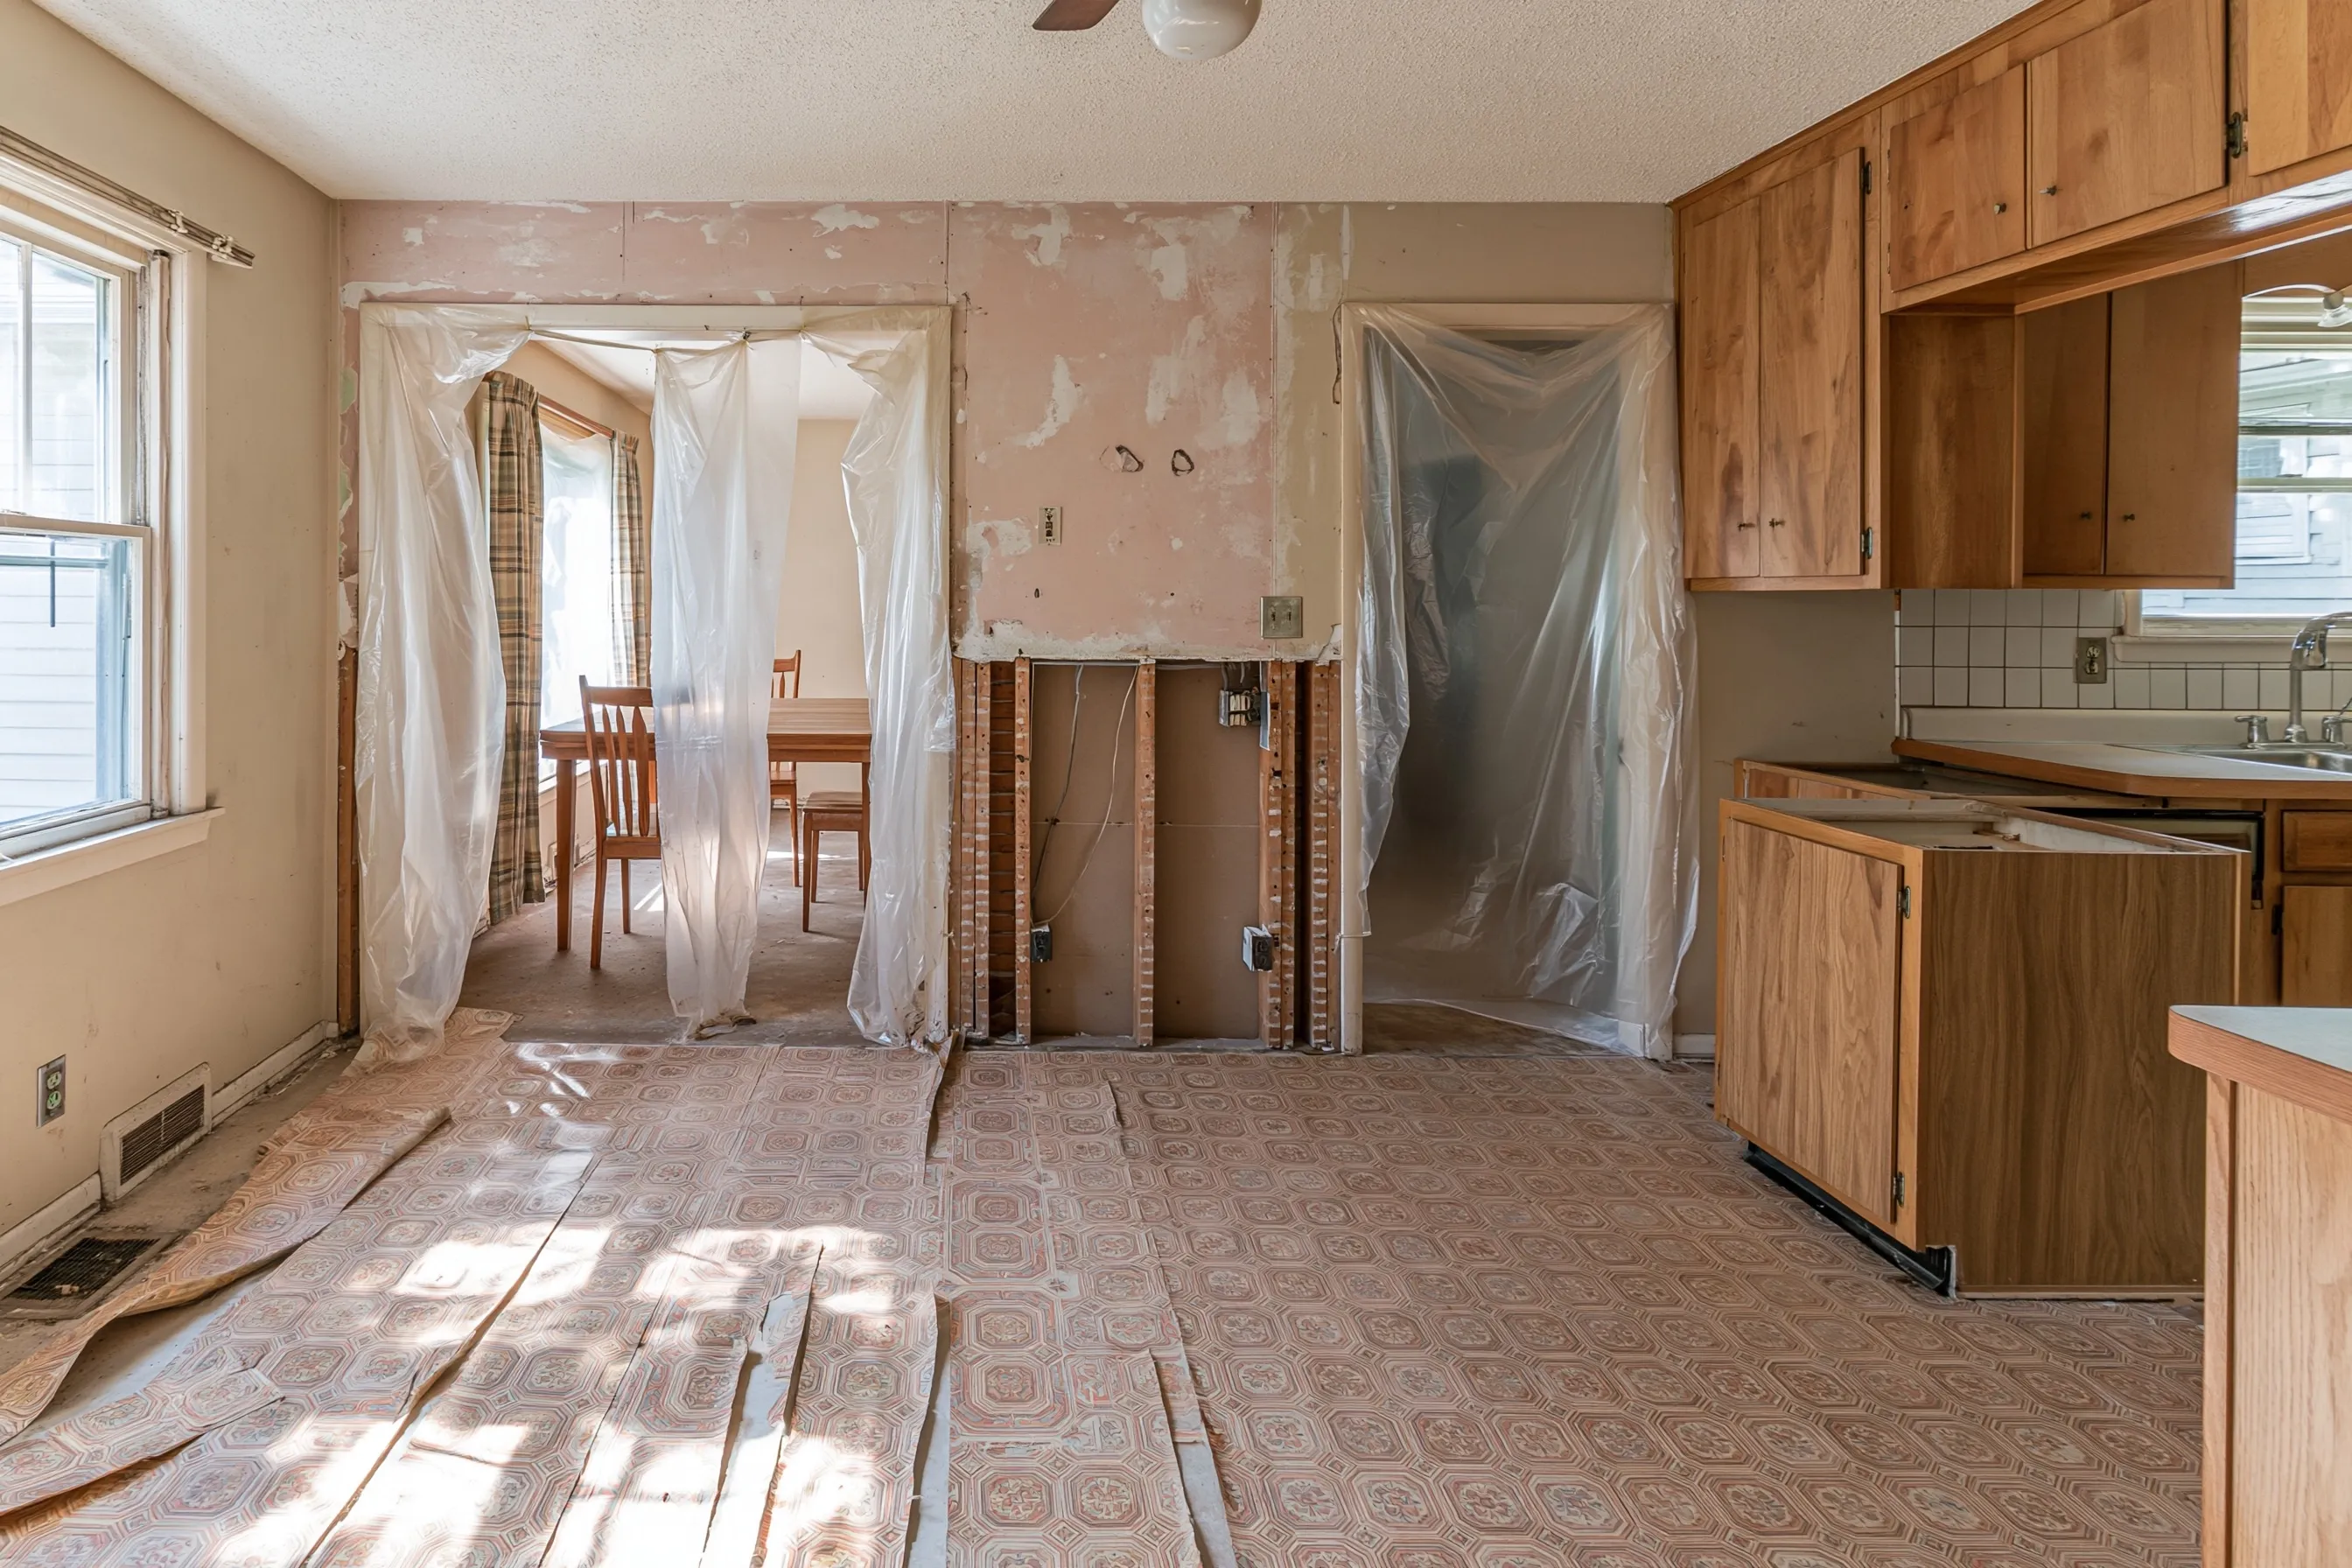
Kitchen with patterned sheet vinyl cut back in strips, part of the wall to the dining room opened to the studs, plastic sheeting over the doorways and wood cabinets
Home
1960s single-story house in Auburn, about 1,400 sq ft
Original request
New kitchen floor and cabinets, and the wall to the dining room opened up
Testing
Survey of the kitchen and the wall to be opened, nine samples
Found
Asbestos in the sheet vinyl backing and in the joint compound on that wall; none in the ceiling
Work
About 160 sq ft of sheet vinyl and 90 sq ft of wall removed inside plastic sheeting
Timeline
Survey and lab results in about a week; removal in two days
Estimated removal cost
$3,900

Scope of work

Plastic sheeting over the floor and across the doorways, the sheet vinyl and its backing wetted and lifted, the drywall on the wall to be opened cut out in sheets, sealed bags, disposal, a HEPA vacuum and wet wipe of the kitchen and a final visual check. The survey and the new kitchen are priced separately.

Project overview

In this example, the owners of a 1960s house plan a new kitchen and want to open the wall to the dining room. Before anything is torn out, an inspector takes samples from every material the work will touch: the floor, the walls and the ceiling.

The lab finds asbestos in the paper backing of the sheet vinyl and in the joint compound on the wall to be opened, but not in the ceiling. Only those two materials come out under plastic, and the kitchen contractor starts in a clean room with the report in hand.

The goal

The goal is a kitchen ready for the remodel, with only the materials that tested positive taken out and the paperwork in hand.

Process

  1. Week one Survey visit with nine samples; lab results and a written report a few days later.
  2. Before work The removal scope is written from the report, and a notice goes to Puget Sound Clean Air Agency.
  3. Day one Plastic sheeting up, the sheet vinyl wetted and lifted, waste bagged.
  4. Day two The wall drywall cut out and bagged, the room cleaned and checked, then the plastic comes down.
  5. Then The kitchen contractor starts with a copy of the survey and the waste records.

Planning right

  • Test before the design is final. A material with no asbestos needs no special removal.
  • In Washington a survey is needed before most remodels, and always before a house is torn down.
  • Ask for the survey to cover every surface the remodel will cut, sand or remove, not only the floor.
  • Keep the survey and waste records with the house papers. The next contractor will ask for them.

Get a free quoteMore about asbestos removal before a remodel or tear-down
Popcorn ceiling removal in a 1970s living room

Example project

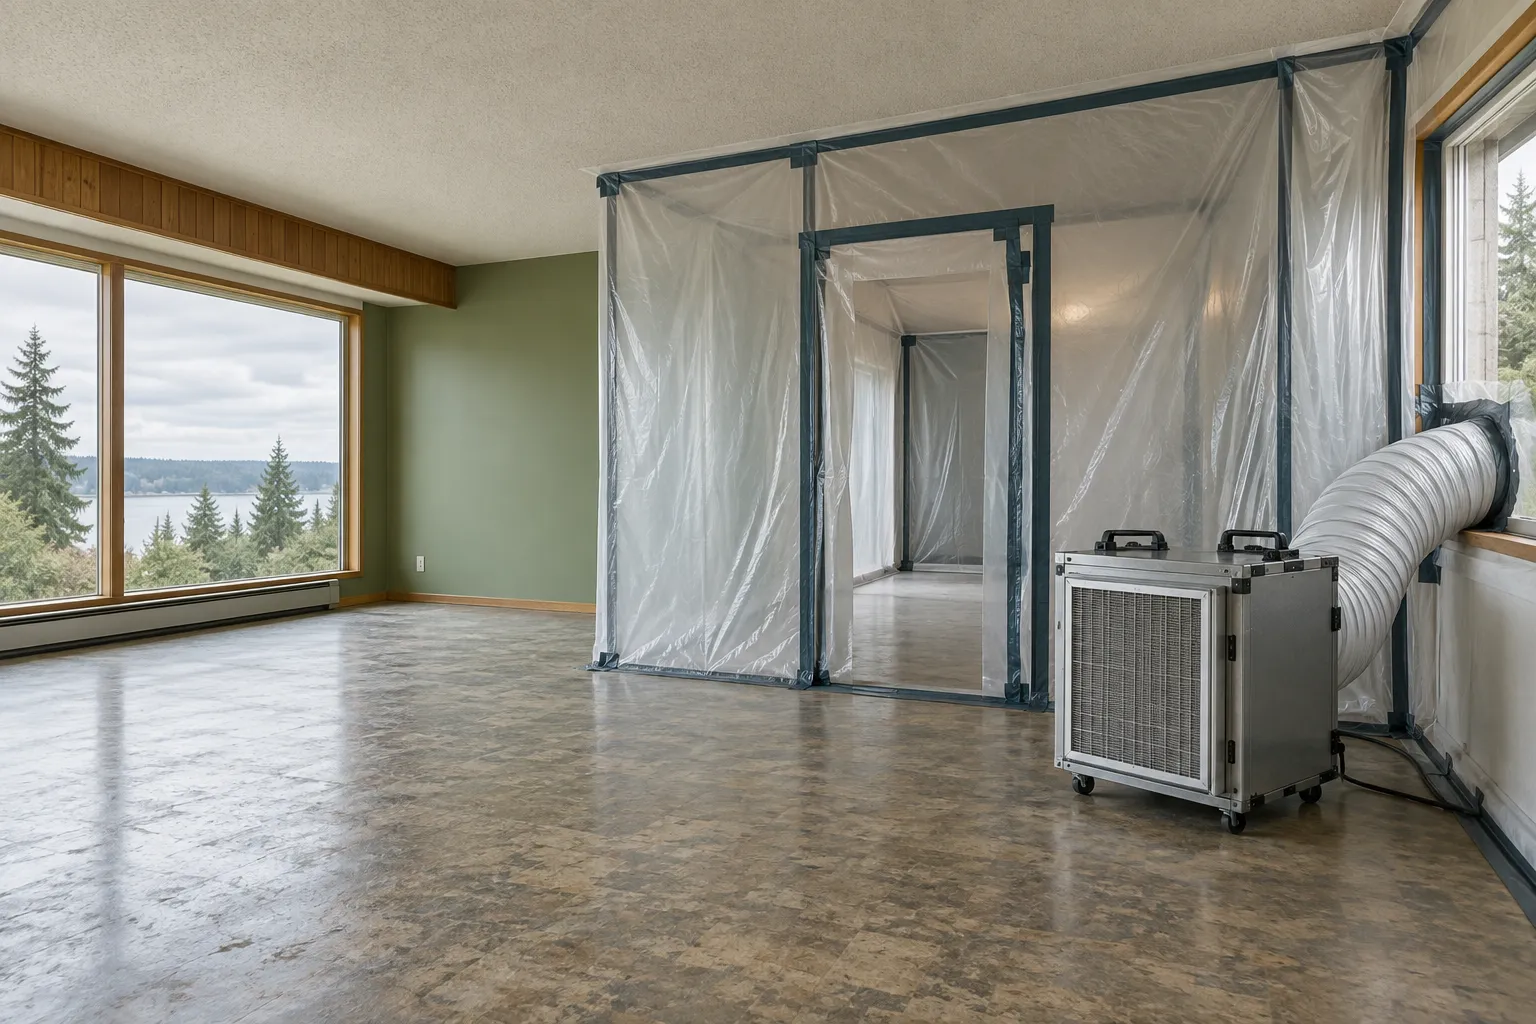
Living room with a textured ceiling, a plastic-sheeting enclosure at one side and a filtered air unit venting out a window
Home
1970s house in Auburn
Original request
A smooth ceiling in the living room
Testing
Lab test of the ceiling texture: asbestos found
Room
Living room with large windows, about 240 sq ft of ceiling
Setup
A plastic-sheeting enclosure with a doorway, and a filtered air unit venting out a window
Timeline
Notice to Puget Sound Clean Air Agency first, then two to three days of work
Cost
$3,600

Scope of work

A lab test of the texture, plastic sheeting over the floor and walls, an enclosed entry, a filtered air unit, the texture misted and scraped off, sealed bags, disposal and a final clean. Retexturing and paint are extra.

Project overview

In this example, the owners of a 1970s house want a smooth living room ceiling. Ceiling texture from that time often has asbestos in it, so a sample goes to a lab before anyone scrapes. It comes back positive.

The ceiling is about 240 sq ft, well over the 48 sq ft at which Puget Sound Clean Air Agency needs a notice, so the notice is filed before work starts. The texture is kept wet so it does not turn to dust, scraped into sealed bags, and the room is cleaned before the plastic comes down.

The goal

The goal is a bare ceiling ready for a skim coat and paint, with the asbestos texture gone and the room clean.

Process

  1. Before work Ceiling texture sampled and sent to a lab; notice filed with Puget Sound Clean Air Agency.
  2. Day one Furniture out, enclosure and filtered air unit set up, then the floor and walls covered.
  3. Day two Texture misted and scraped off, bagged and sealed; HEPA vacuum and wet wipe.
  4. Last step Visual check, plastic folded inward and bagged, waste taken to an approved site.

Planning right

  • Do not scrape or sand a textured ceiling to see what it is. Test a sample first.
  • Painted texture takes longer to wet and scrape, so tell us if it has been painted.
  • Light fixtures and smoke alarms come down before the work and go back up after.
  • Retexturing or a skim coat is a separate job, often done by the painter or drywall contractor.

Get a free quoteMore about asbestos popcorn ceiling removal

Floor tile and black adhesive in a 1960s bathroom

Example project

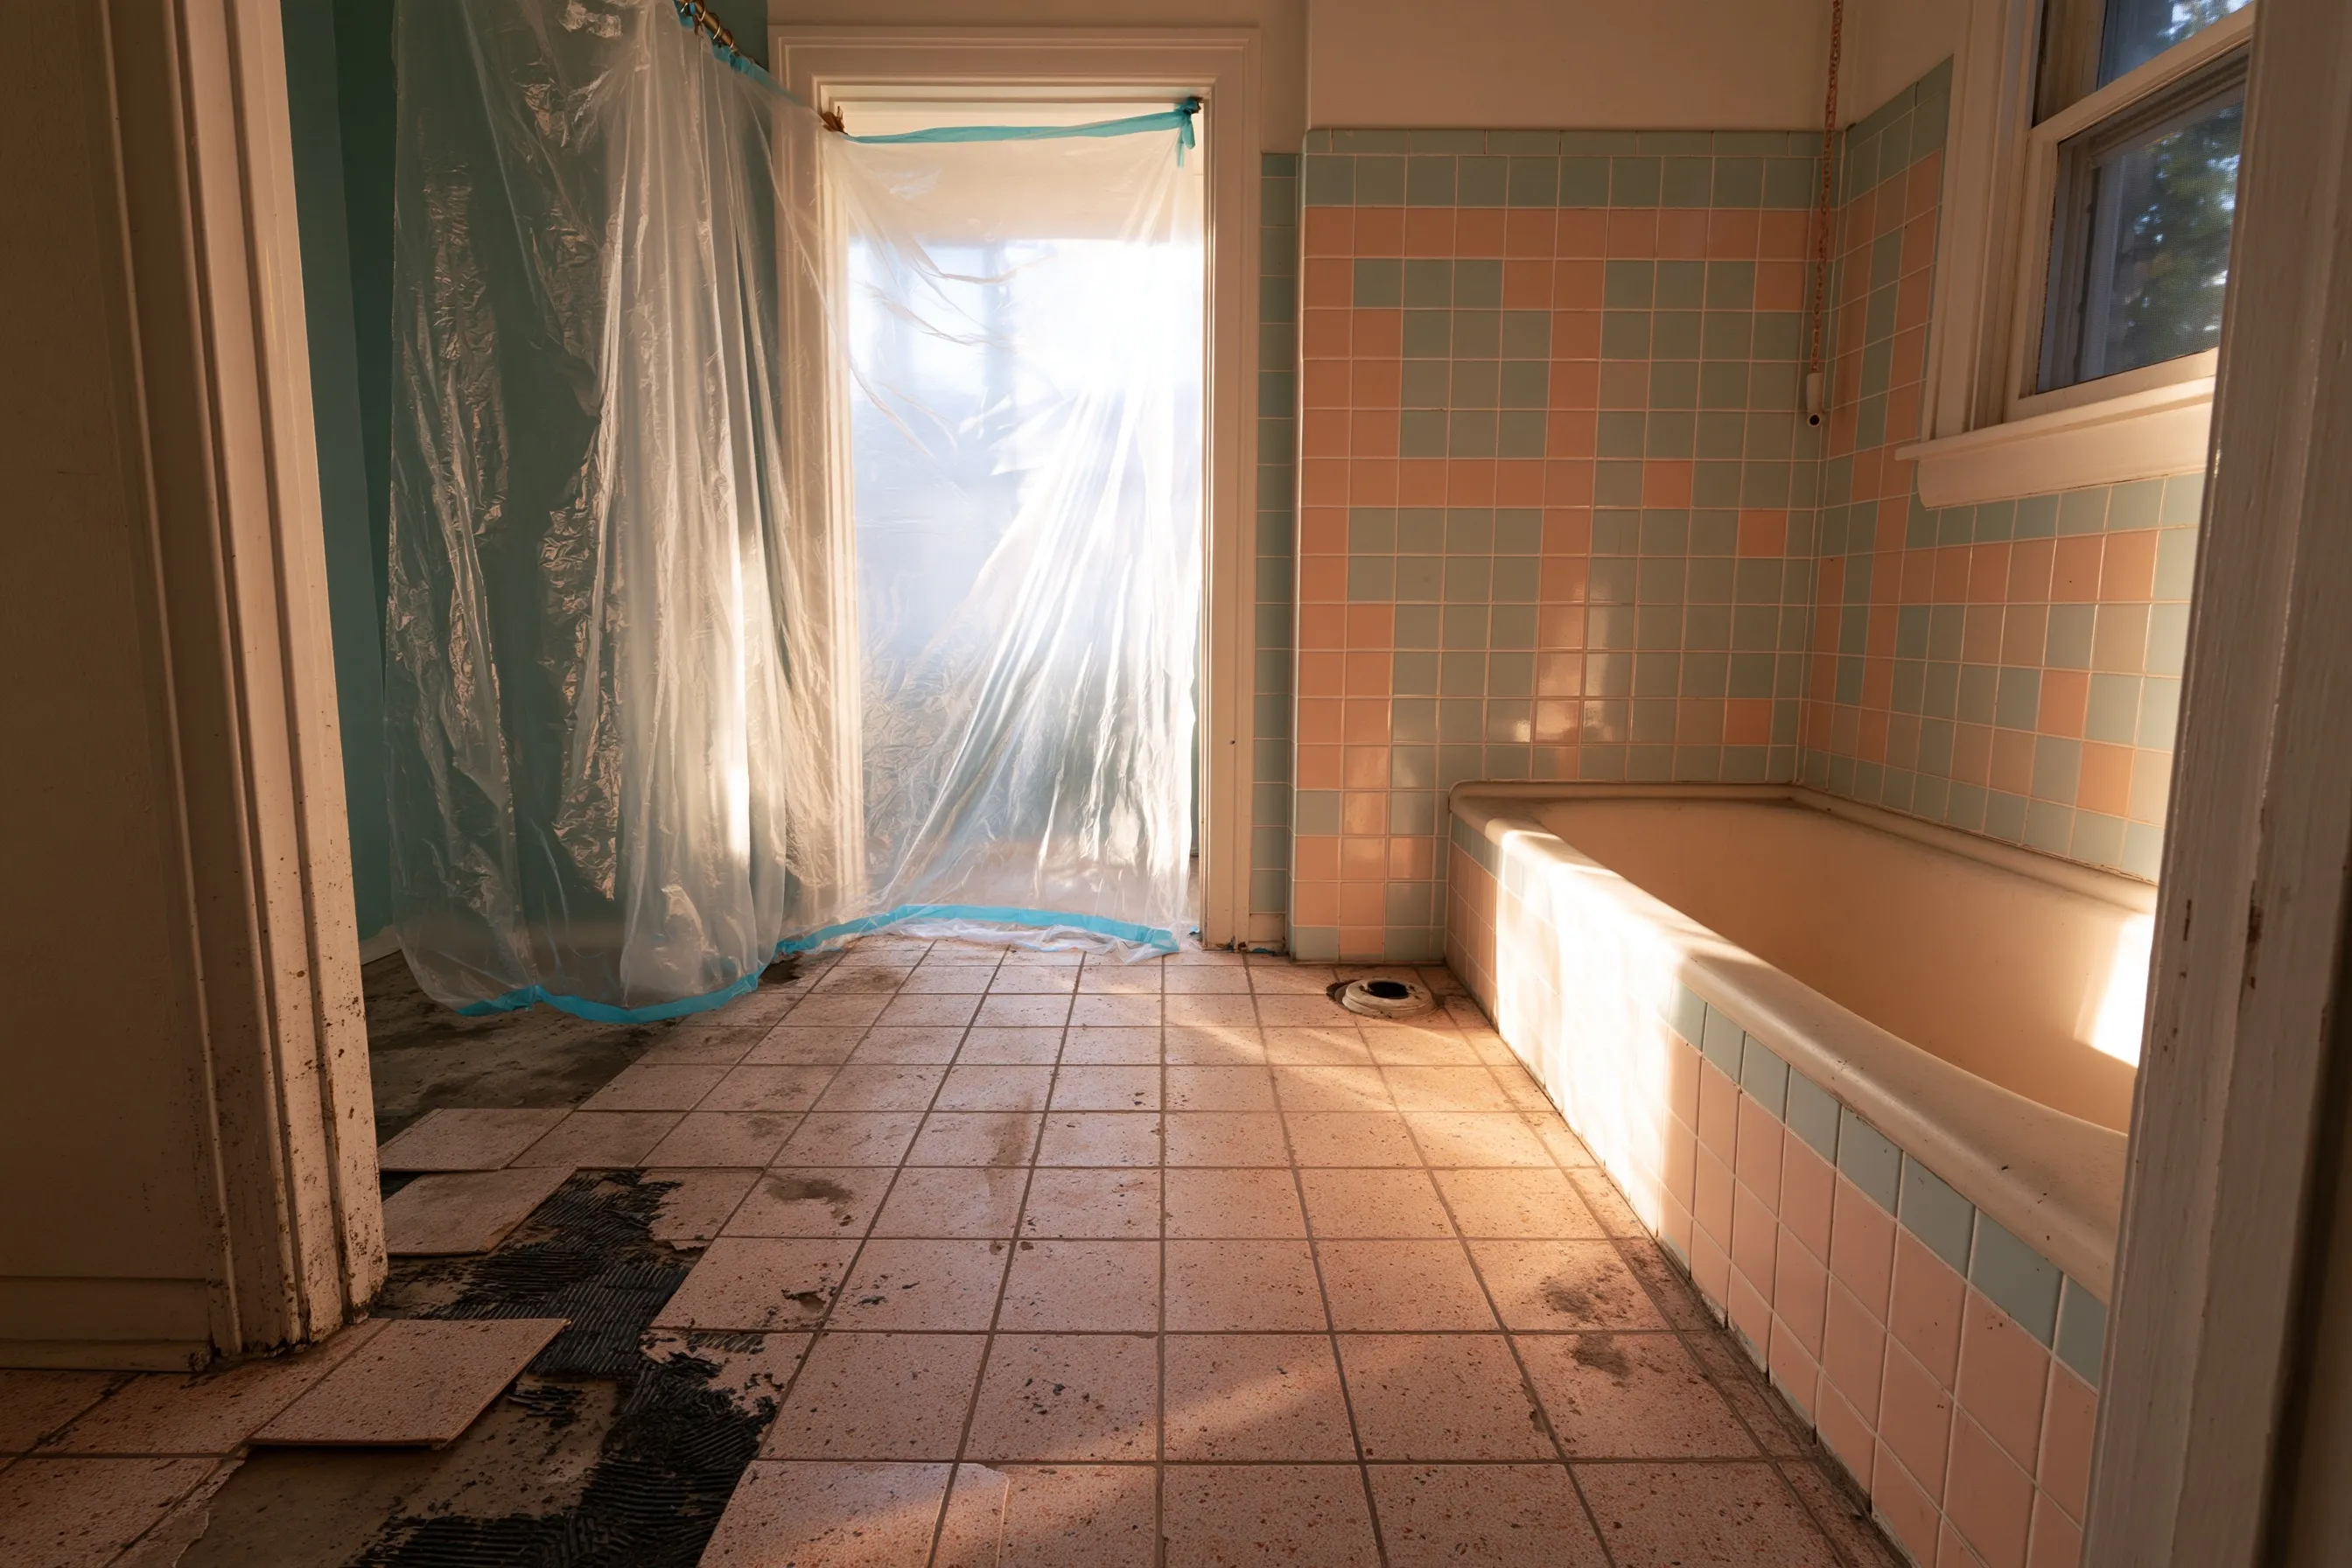
Bathroom with the toilet taken out, floor tiles lifted in one corner to show black adhesive, pastel wall tile and plastic sheeting over the doorway
Home
1960s single-story house in Auburn
Original request
A new tile floor in the main bathroom
Testing
Lab test of the 9-inch floor tiles and the black adhesive under them: asbestos in both
Room
Bathroom, about 60 sq ft of floor, with the toilet taken out by the plumber first
Agency notice
Not needed for vinyl tile and its adhesive
Timeline
One day of removal
Cost
$2,100

Scope of work

Plastic sheeting at the door, the floor tiles and the black adhesive removed wet with hand tools, the subfloor left bare and clean, sealed bags, disposal and a final clean. Toilet removal and the new floor are priced separately.

Project overview

In this example, the owners of a 1960s house want a new tile floor in the bathroom. The old floor is 9-inch tiles laid on black adhesive, a pair that often has asbestos in houses of that age. A lab test of both comes back positive.

Vinyl tile and its adhesive do not crumble when they come up whole, so they need no notice to Puget Sound Clean Air Agency. They are still removed wet and by hand, never ground or sanded, so the job stays clean and the subfloor is ready for the tile setter.

The goal

The goal is a clean, bare subfloor ready for the new tile, with the old tile and adhesive gone and the waste records kept.

Process

  1. Before work One sample of tile and one of adhesive to a lab; results in a few days.
  2. Morning Plastic at the door, tiles lifted wet, in whole pieces where they come up that way.
  3. Afternoon Black adhesive taken off the subfloor, waste bagged and sealed.
  4. End of day HEPA vacuum and wet wipe, a final look, waste taken to an approved site.

Planning right

  • Do not grind or sand black adhesive. That turns it into dust.
  • Covering old tile with a new floor is an option when the floor height allows it. Then nothing is disturbed.
  • Ask whether the subfloor will be left ready for the new floor or needs patching.
  • Sheet vinyl with a paper backing is a different job from tile. Test it the same way.

Get a free quoteMore about asbestos floor tile and mastic removal

Old boiler and pipe insulation before a new boiler

Example project

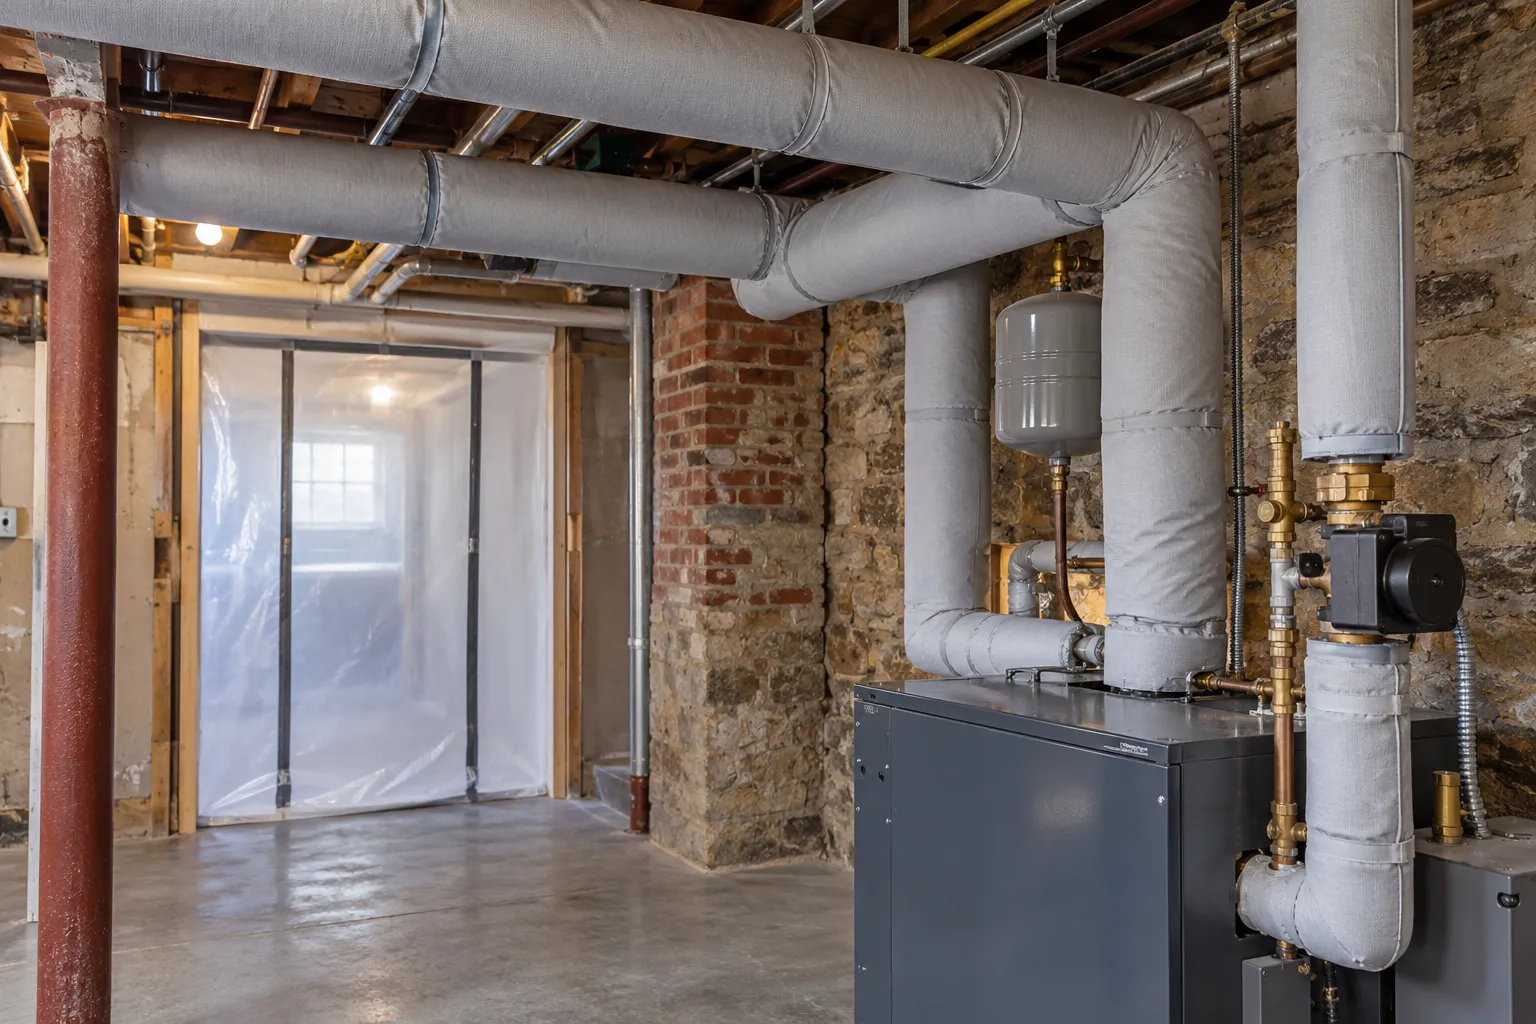
Basement with stone and brick walls, pipes wrapped in new gray insulation, a new boiler and plastic sheeting over a doorway
Home
1920s house in Auburn with a stone and brick basement
Original request
Replace the old boiler
Testing
Lab test of the white wrap on the boiler and pipes: asbestos found
Material
The boiler jacket and about 60 ft of wrapped heating pipe
Agency notice
Filed with Puget Sound Clean Air Agency, as the pipe run is over 10 ft
Timeline
Three days of removal, then the heating contractor puts in the new boiler
Cost
$7,800

Scope of work

A sealed work area under negative air, the boiler jacket and pipe wrap wetted and removed, pipe ends sealed, sealed bags, disposal, a HEPA clean and an air test before the area is opened. The new boiler and new pipe insulation are priced separately.

Project overview

In this example, the owners of a 1920s house want to replace the old boiler in the basement. The boiler and the heating pipes are wrapped in old white insulation, torn in places. A lab test shows asbestos, so it has to come off before the heating contractor can take the boiler out.

The basement is sealed off and kept under negative air while the wrap is wetted and removed. With more than 10 ft of pipe, a notice goes to Puget Sound Clean Air Agency first. When the air test is clear, the heating contractor takes the old boiler out and puts the new one in.

The goal

The goal is a basement clear of the old insulation, so the new boiler goes in without delay and the air test shows it is clean.

Process

  1. Before work Sample of the pipe and boiler wrap to a lab; notice filed; heat turned off.
  2. Day one Work area sealed with plastic, filtered air unit running, warning signs up.
  3. Day two Wrap wetted and removed from the boiler and pipes, pipe ends sealed, waste bagged.
  4. Day three HEPA clean and an air test, then the area is opened for the heating contractor.

Planning right

  • Torn pipe wrap sheds fibers. Keep people out of that part of the basement until it is tested.
  • Plan the work for a mild week. The heat is off while the boiler is out.
  • Ask whether the price includes the air test at the end. It shows the area is clean before others work there.
  • Old duct tape and floor tile in the same basement can have asbestos too. Have them tested in the same visit.

Get a free quoteMore about asbestos insulation removal

Cement asbestos siding before new siding on a 1970s house

Example project

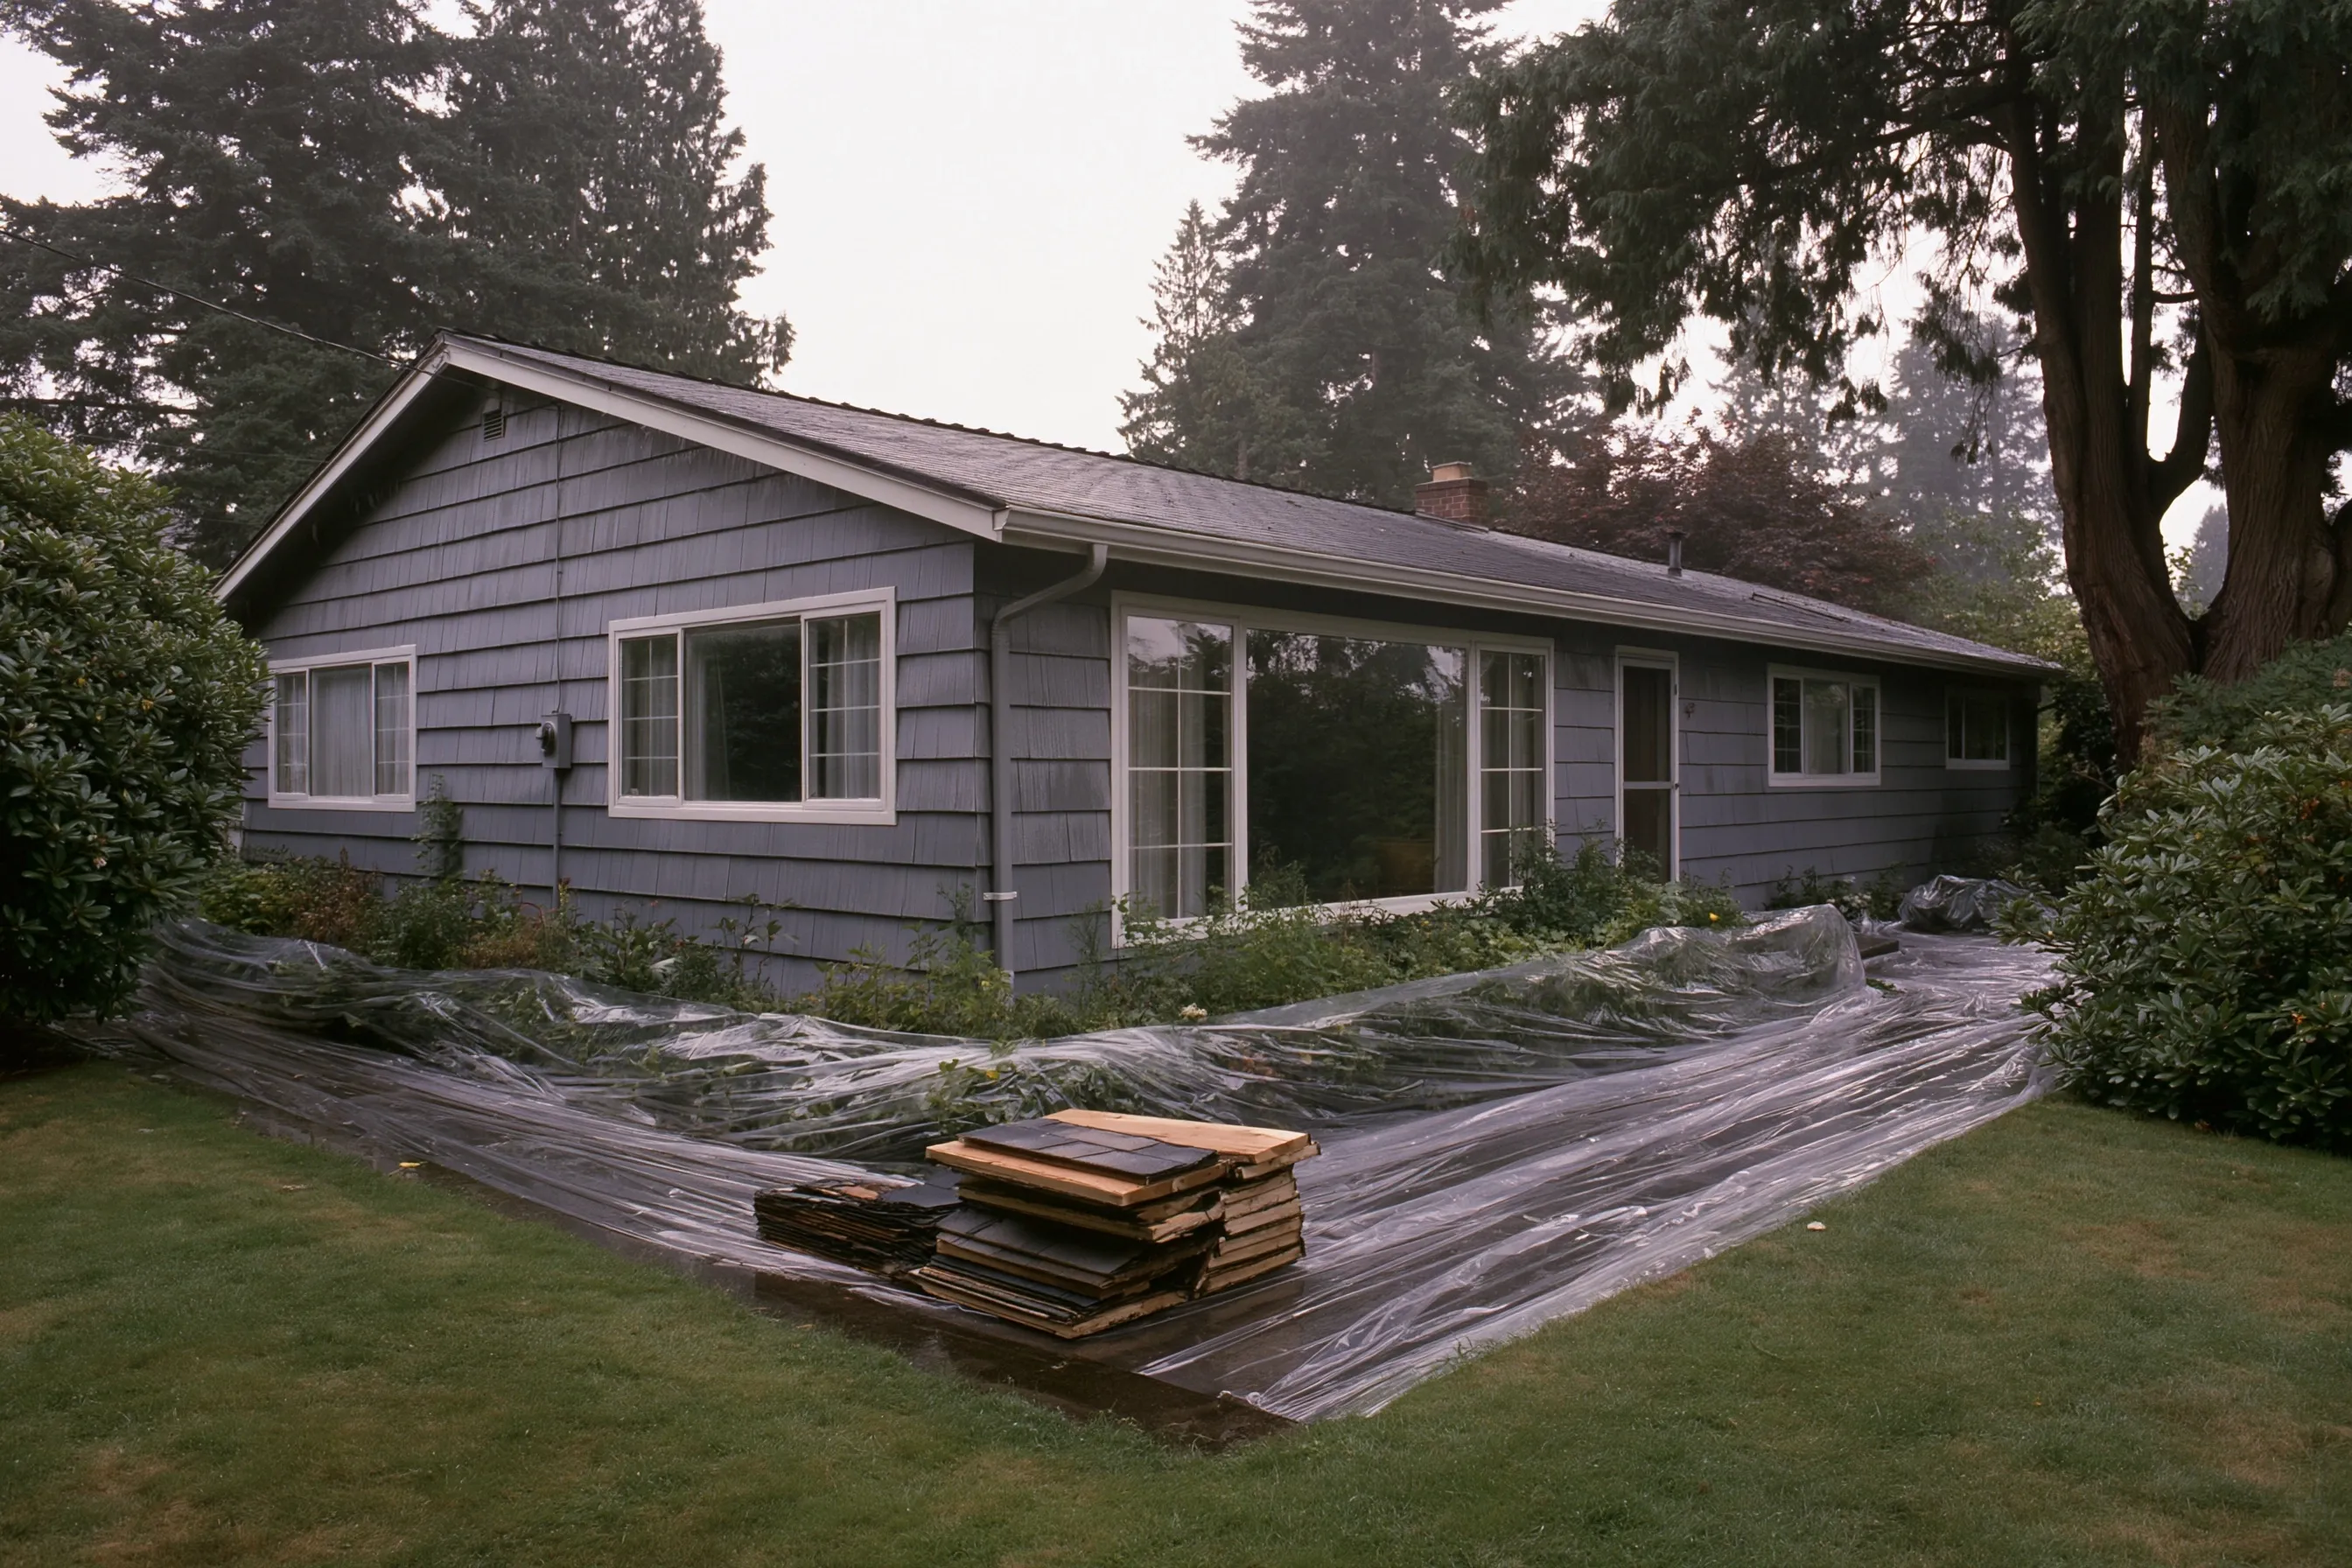
One-story house with gray cement shingle siding and white windows, plastic sheeting over the garden beds along the wall and a stack of removed shingles on the lawn
Home
1970s one-story house in Pacific
Original request
New siding and windows
Testing
Lab test of the gray cement shingles: asbestos found
Area
About 1,400 sq ft of wall
Agency notice
Filed with Puget Sound Clean Air Agency before work
Timeline
Four to five working days, avoiding wind and heavy rain
Cost
$15,500

Scope of work

Plastic sheeting on the ground and over the garden beds, the shingles kept wet and taken off whole by pulling the nails, stacked and wrapped, disposal, and the ground picked clean. New siding, windows and trim are priced separately.

Project overview

In this example, the owners of a 1970s one-story house in Pacific want new siding and windows. The house has gray cement shingles that are still in good shape, and a lab test shows asbestos in them.

Puget Sound Clean Air Agency treats cement asbestos siding as friable, so a notice is filed before work. Pacific is partly in King County and partly in Pierce County, and both are in that agency’s area. The shingles are wetted and taken off in whole pieces, not broken, then wrapped and hauled to an approved site.

The goal

The goal is bare walls ready for new siding, with the old shingles gone in whole pieces and none left in the garden.

Process

  1. Before work Shingle sample to a lab; notice filed; garden beds and plants covered.
  2. Days one to three Shingles wetted and taken off whole, wall by wall, stacked and wrapped each day.
  3. Day four Last wall done, the ground checked for pieces, waste hauled to an approved site.
  4. Then The siding contractor wraps the walls and starts the new siding.

Planning right

  • Do not power wash, cut or break cement shingles. Whole pieces are much safer.
  • Shrubs right against the wall may need trimming so the crew can reach the bottom rows.
  • Ask whether the walls will be left bare and dry for the siding contractor.
  • An asbestos roof is a separate survey and a separate quote.

Get a free quoteMore about asbestos siding and roofing removal

Floor tile removal in an office before a tenant remodel

Example project

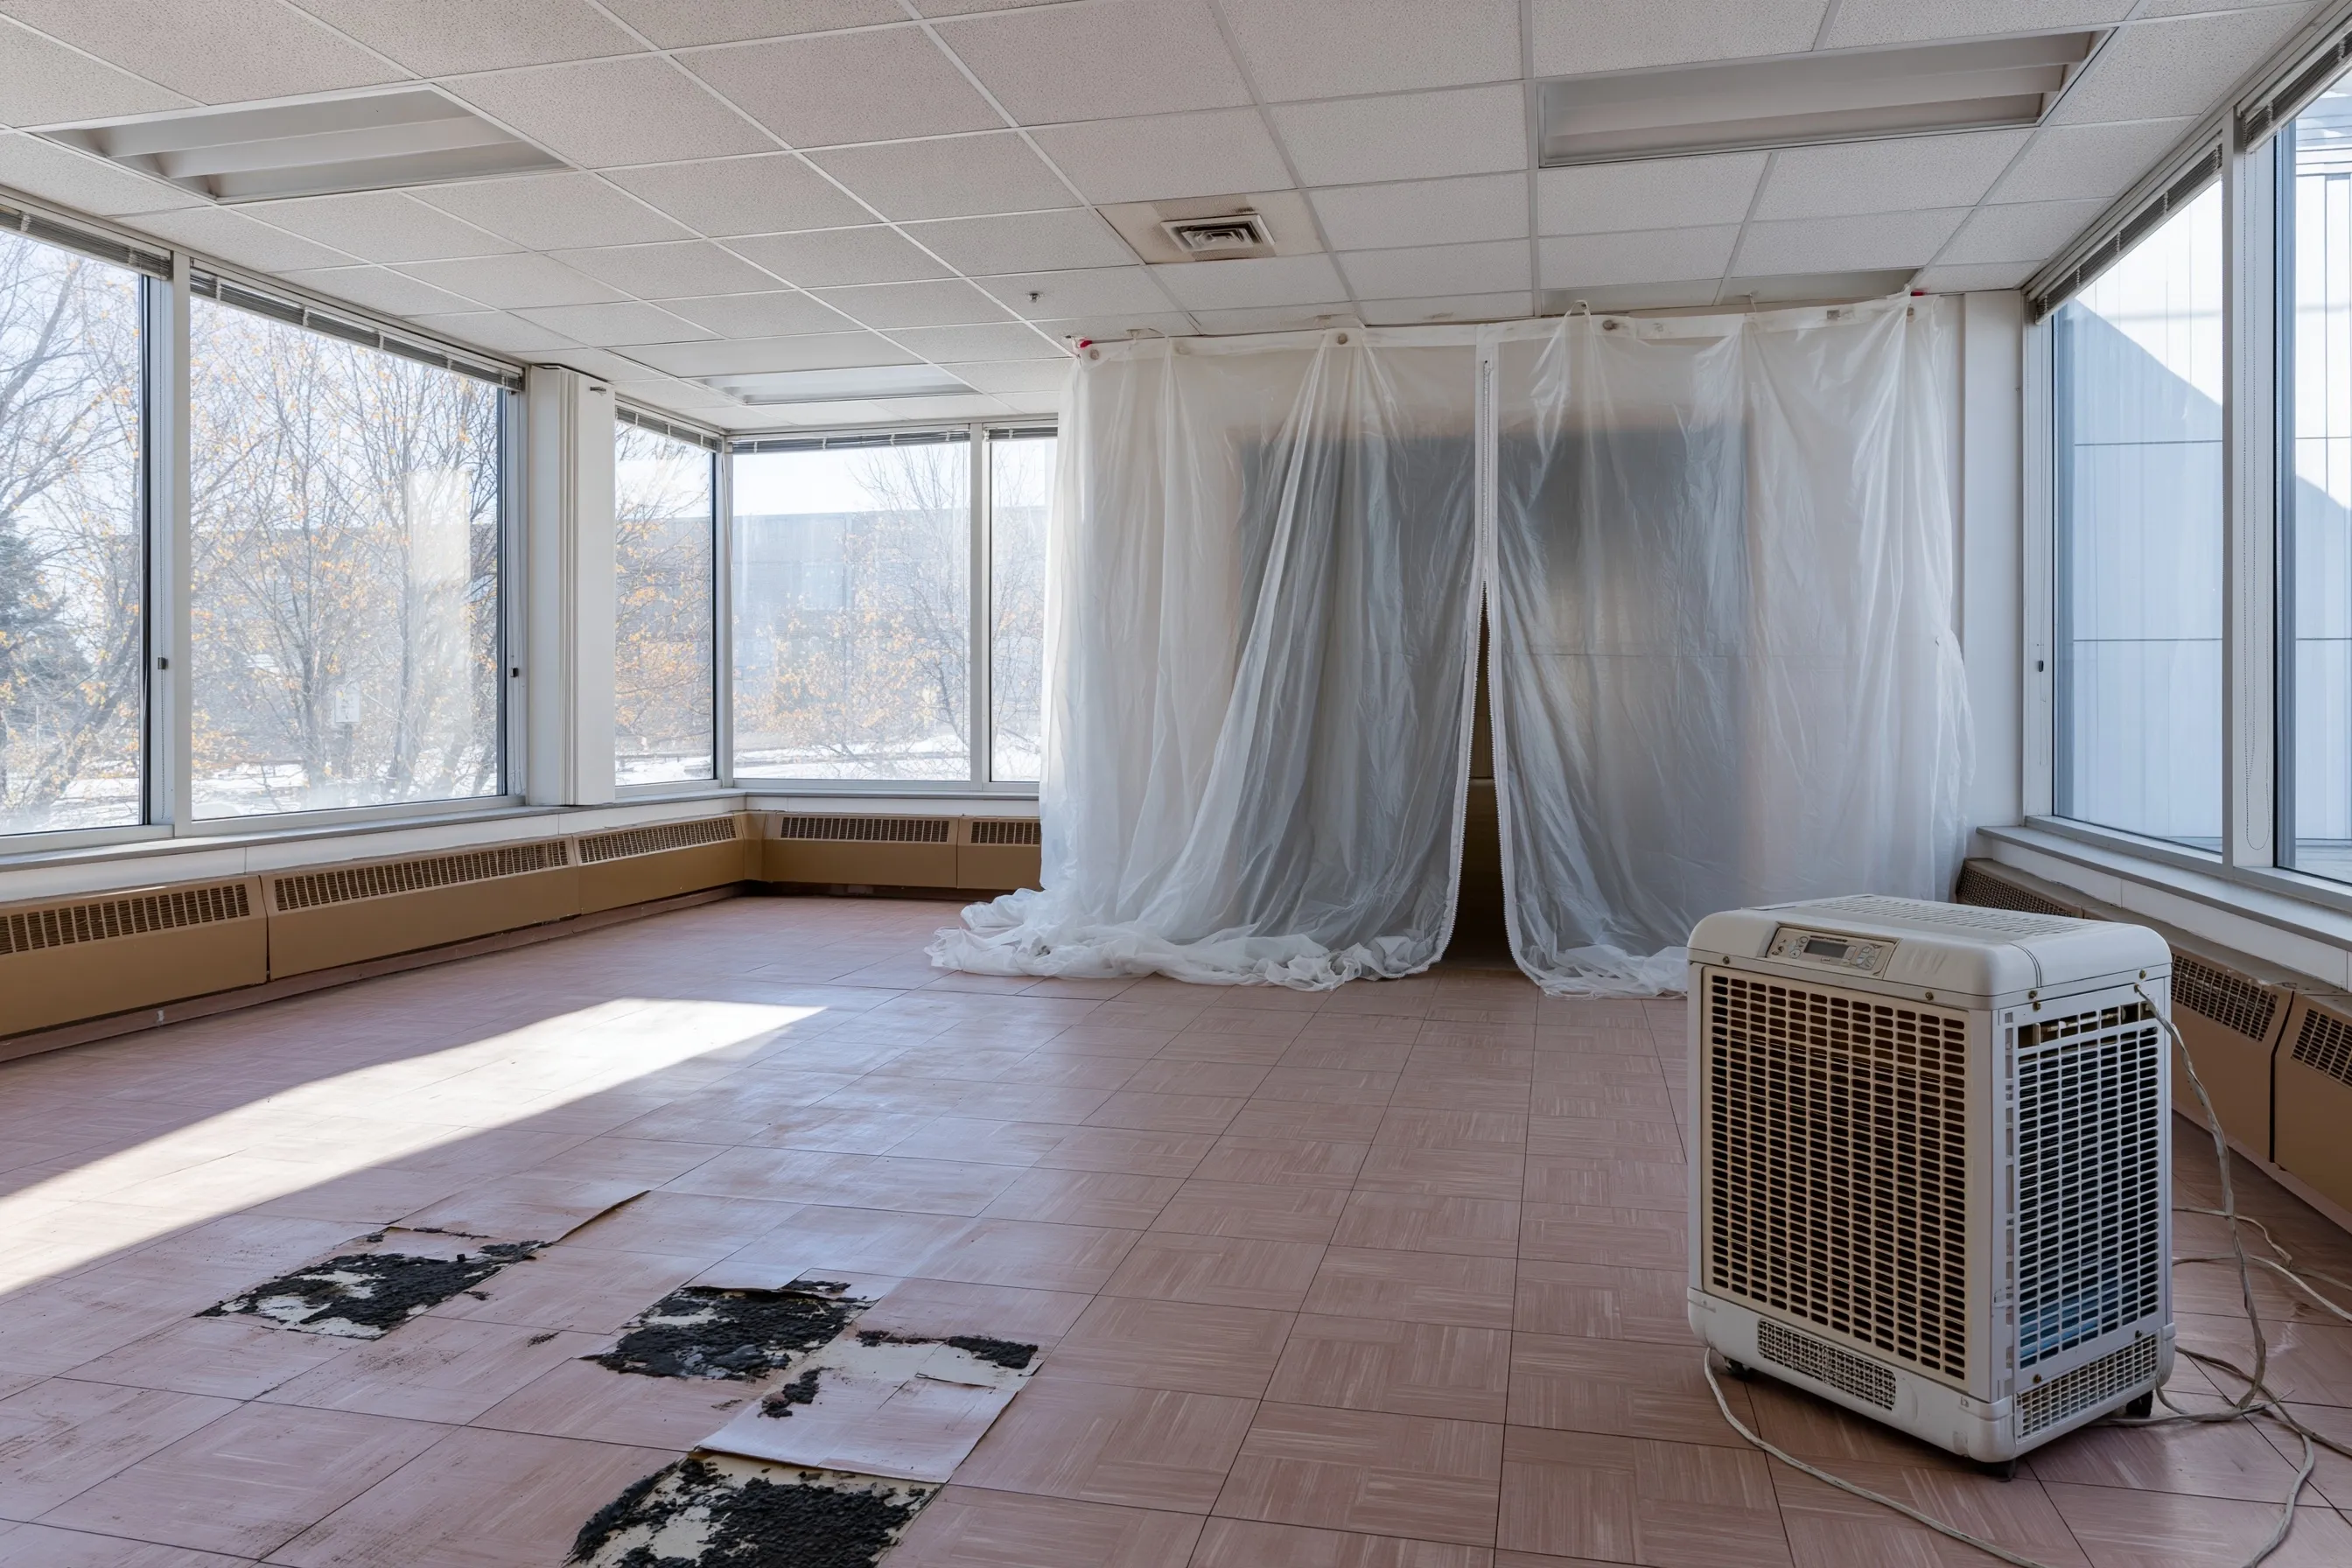
Empty corner office with large windows, floor tiles lifted in a few spots to show black adhesive, a filtered air unit and a plastic-sheeting doorway
Building
1970s commercial building in Algona; the office windows and ceiling were replaced in a later update
Original request
New flooring and lighting in an office before a new tenant moves in
Testing
Survey of the office: asbestos in the floor tile and its adhesive; none in the ceiling tiles
Area
The office floor, about 1,000 sq ft
Setup
A plastic-sheeting door to the hallway and a filtered air unit
Timeline
Survey first, then three evenings of removal outside business hours
Cost
$9,500

Scope of work

A sealed work area with a plastic door to the hallway, a filtered air unit, the floor tile and adhesive removed wet, sealed bags, disposal, a HEPA clean and an air test before the office is handed back. The survey and the new floor are priced separately.

Project overview

In this example, the owner of a 1970s commercial building in Algona is getting an office ready for a new tenant, with new flooring and lighting. The windows and ceiling were replaced years ago, but the floor tile is original. A survey of the office finds asbestos in the floor tile and the adhesive under it, and none in the ceiling tiles.

The office is closed off from the hallway with a plastic door so the rest of the building stays open, and the work runs in the evenings. For a building that is not a house, the agency notice and fee depend on the amount of material, so the contractor confirms them with Puget Sound Clean Air Agency before work.

The goal

The goal is a bare, clean office floor ready for the new tenant’s flooring, with the air test and waste records on file.

Process

  1. Week one Survey of the office and lab results.
  2. Before work Scope agreed with the owner, notice confirmed with Puget Sound Clean Air Agency, tenants told the schedule.
  3. Evenings one to three Plastic door and air unit set up, tile and adhesive removed wet, waste bagged.
  4. Last evening HEPA clean and an air test; the office handed back with the waste records.

Planning right

  • Keep the survey with the building records. Later tenant remodels can use it.
  • Shared air systems can carry dust to other offices. The vents in the work area are sealed during the work.
  • Ask whether the air test is done by a separate company. It keeps the test independent.
  • Evening work costs more but keeps the building open.

Get a free quoteMore about commercial asbestos abatement

Request a free asbestos removal quote

We recommend calling, but do feel free to contact us using this form. We'll get back to you with a free, personalized quote or additional questions as soon as possible. We're here to help.

Call (253) 294-7929

Call (253) 294-7929